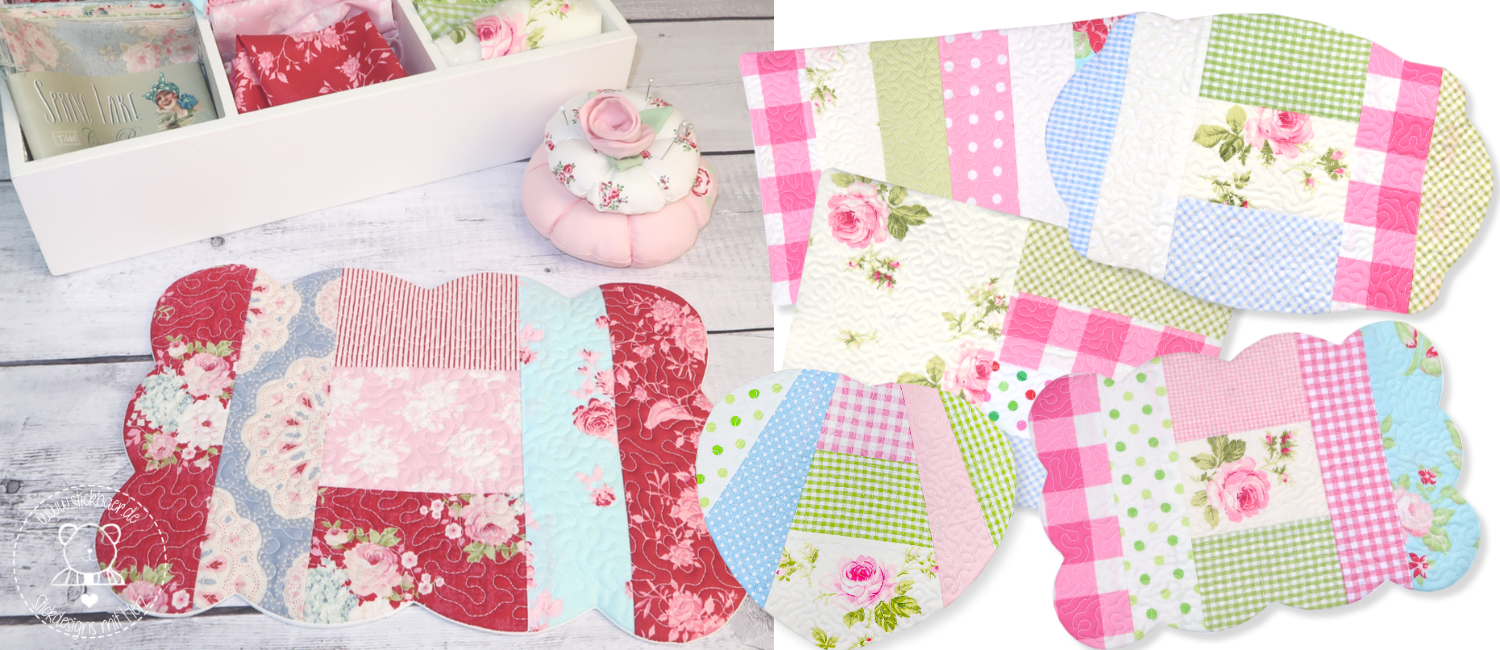
Let's talk about Mugrugs

News from Stickbaer
Let me tell you, embroidering mugrugs is so easy.
On one of our "Happy Mugrugs" I'll show you how easy it is to stitch such a doily and how quickly it grows before your eyes. A few tricks of the trade are also included.
First, of course, you need the right fabrics. For the Happy Mugrugs you can dig really deep in the remnant box, because you need a lot of small fabric remnants. These should ideally be made of cotton.
I chose 7 matching fabrics for my doily from my box of beautiful old Tilda fabrics.
The right embroidery backing is also very important. Especially for quilted mug mats, where your embroidery machine makes lots of little quilting lines, I recommend a soft embroidery stabilizer for cutting. This is because it can just stay where it is after embroidering and doesn't need to be removed (with all those quilting lines, that wouldn't be any fun). There are several manufacturers, just make sure it's not too thick and firm. I like to use Madeira Super Web.
Mugrugs are always padded with a volume batting as well. Over the years I have come to specialise in just one and use only Hobbs Cotton Fleece (Heirloom Cotton Fleece). This is soft and not too thick, just perfect for my mugrugs.
Hobbs volume fleece is actually intended for quilts, so you can buy it in special quilt sizes such as king size, queen size, etc. The bigger the size, the cheaper the price per metre. Just shop around at different retailers.
So I put both together in the embroidery machine and start embroidering.
With the Happy Mugrugs it is now like "paint by numbers".
You start by embroidering a kind of template into which the fabrics are then placed and embroidered piece by piece.
The embroidered numbers tell you the order, so it really is child's play.
Of course, it is explained in detail and step by step in the embroidery instructions that come with the embroidery file.
Continue until the whole mug is filled.
Now comes the meditative part ;-)
I love watching the embroidery machine stitch the mugrugs. Do you like it too?
After quilting you are almost finished. You just have to give the doily a back. This will be embroidered and the mug will be turned after cutting it out. There are several ways to do this step.
My favourite method is to avoid turning openings in the side seam. You can never get the opening closed so neatly that it is not visible.
I find it much easier to split the back. To do this, I simply cut my backing fabric in half and then reassemble it with the sewing machine. I leave an opening of about 7-10 cm in the middle.
I then simply place this prepared fabric on top of the mug at the very end and let the embroidery machine embroider the backing.
By the way, I use white bed linen from the flea market for the back of all my mugrugs. The fabrics are usually washed many times and don't shrink, and best of all, I get many yards of fabric for very little money.
When the embroidery machine is ready, I take everything out of the frame and cut out my mug. I leave very little fabric, 1-2mm at most, especially around the curves. I don't cut into the curves either, but cut out very close to them.
But it is very important to cut into the 'dips' right up to the seam. And never cut INTO the seam!
Now turn the mug over through the small opening at the back. To work out all the corners and curves, I use a Chinese chopstick. There are special chopsticks, of course, but a wooden chopstick works really well for mugrugs. I close the gap with Gütermann textile glue. This glue will stand up to washing.
Now for the last step, ironing. Do not iron from the front as this will destroy the beautiful quilted surface.
Simply place the doily backside up on the ironing board and iron from the back.
I hope I have been able to answer some of your questions about embroidering Mugrugs and that you will want to try it.
Not only are the Happy Mugrugs waiting for you, but there are lots of other beautiful embroidery designs for Mugrugs.


